The current solutions are the simple ways to achieve motion, not necessarily the ‘best’ or most ‘accurate’.
I have 3 designs that are meant to get closer to the actual bike motion. I need to make some time to turn them into prototypes to see if i am on the right track.
They all will reproduce motion differently than all but one other rocker that I have seen. The real question is if they will be “better”.
Well, Chad seems to have everything in order here.
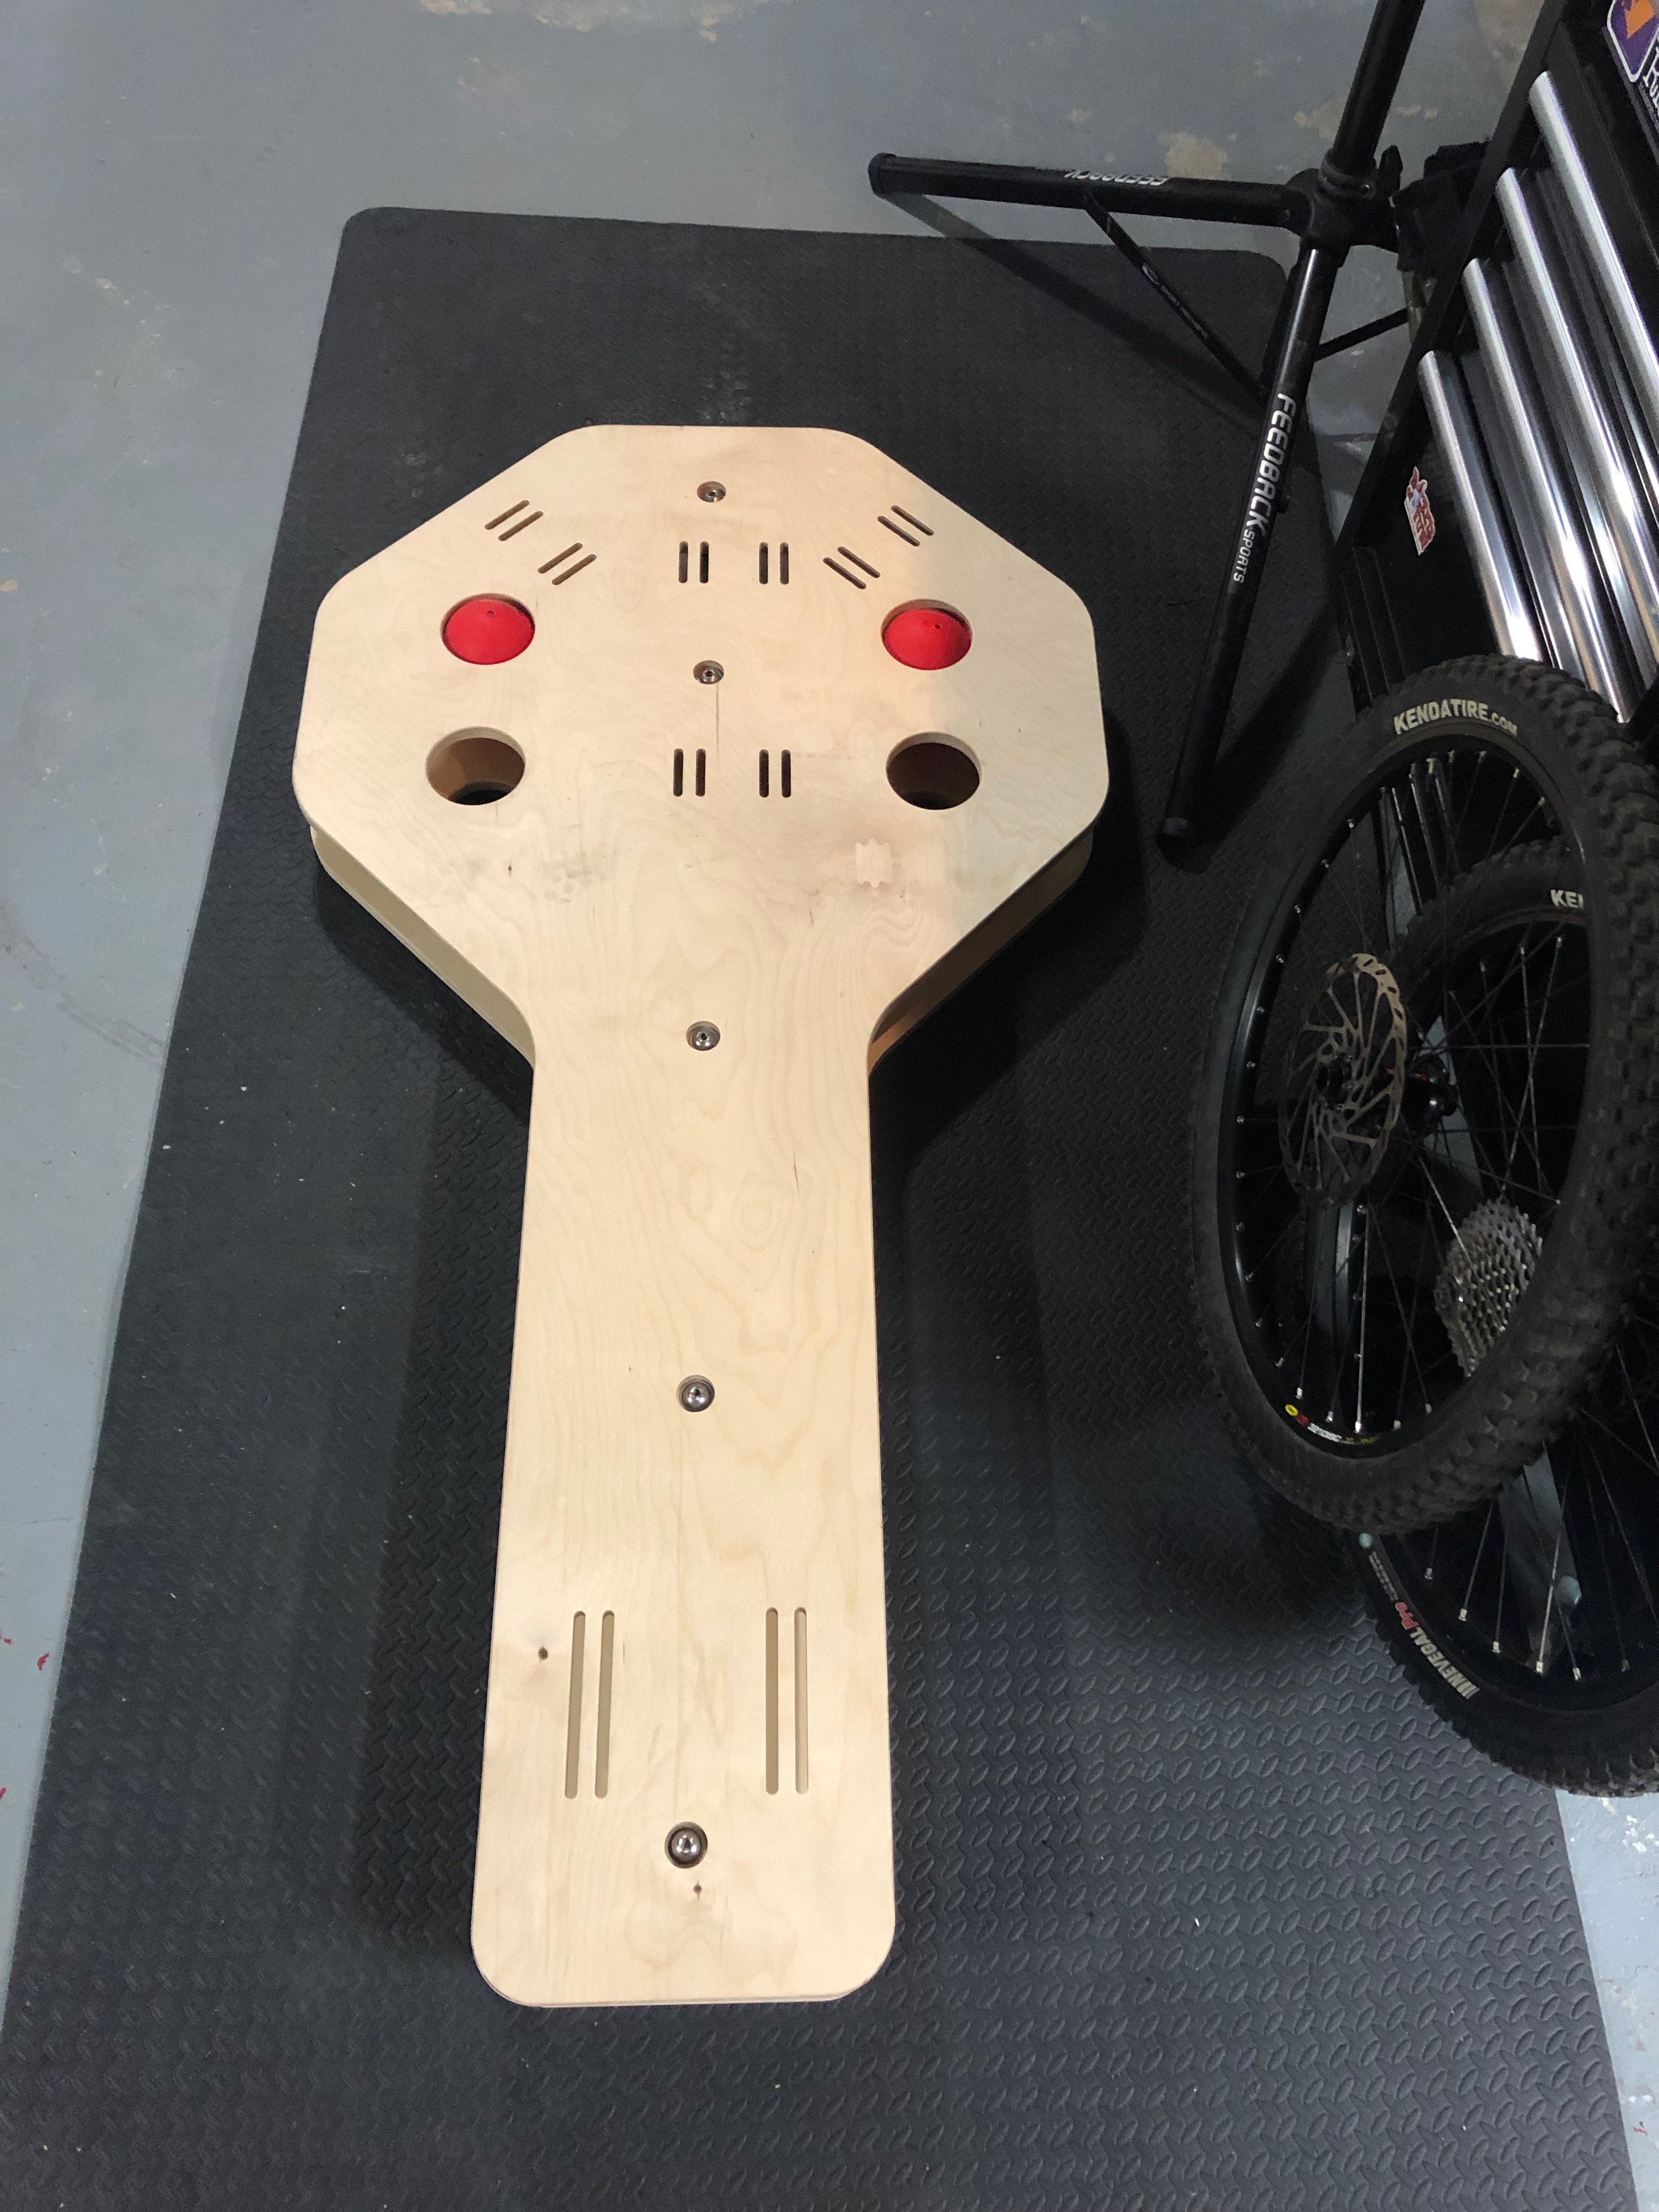
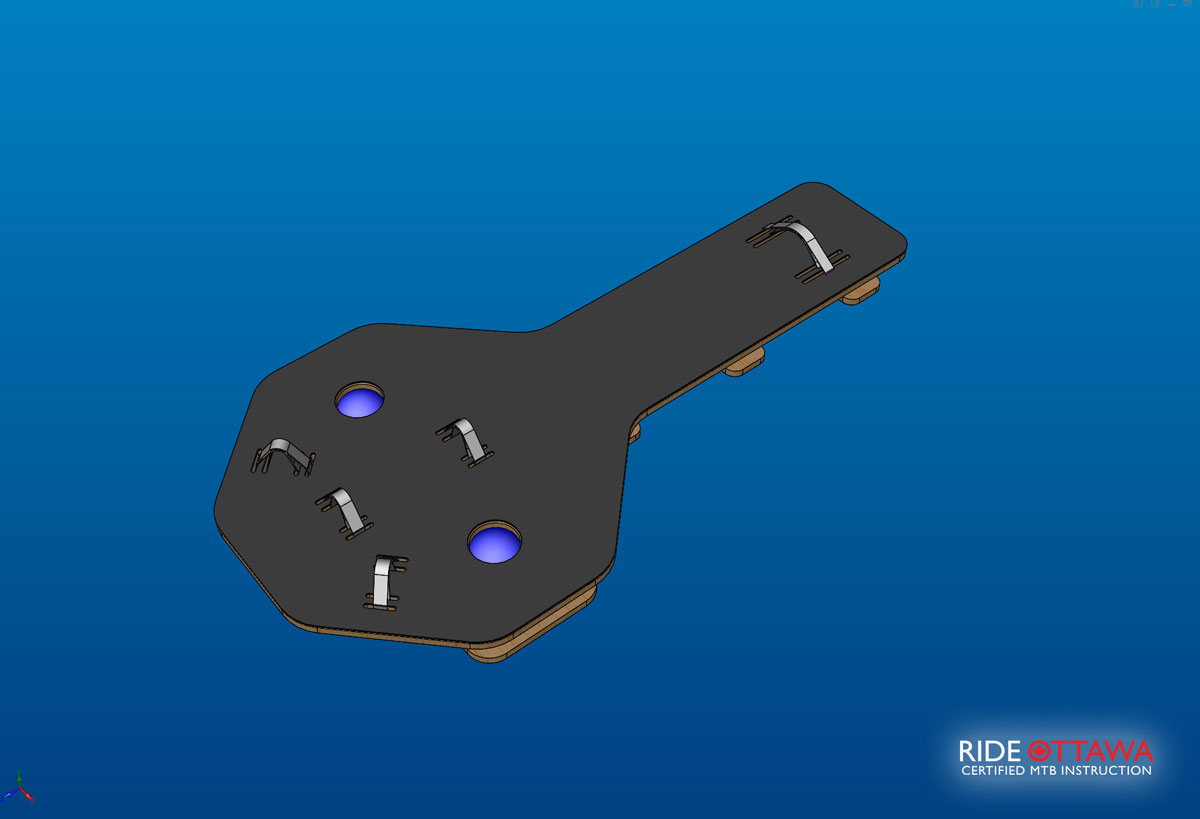
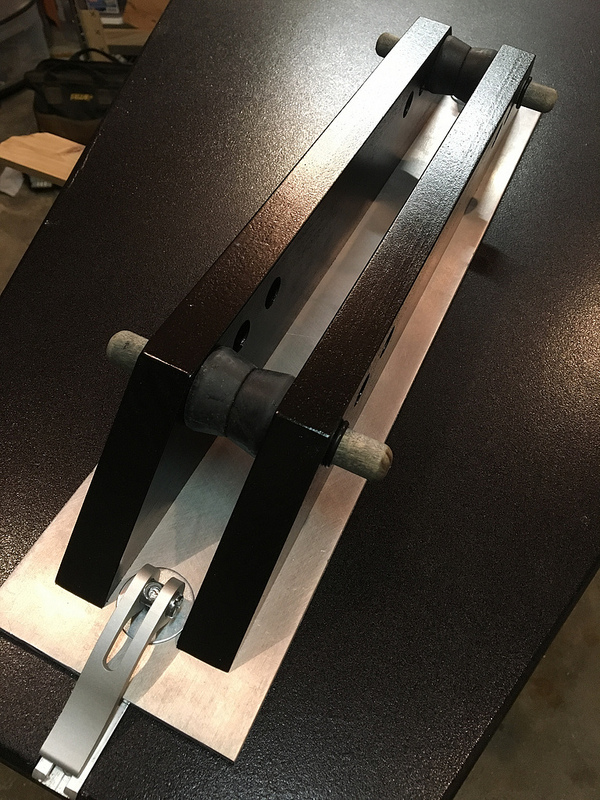
I am attached my V2 design for reference if others are interested. The pictures show the V1 prototype (2 plates) and the other images are the CAD snapshots of the V2 version design. The V2 design is adapted to remove the bottom plate and uses feet to get 2 x units per standard sheet fo plywood.
Page 1 PDF shows the bill of materials including the McMaster Carr part numbers for vibration dampers and fasteners. The PDF file can be supplied to your local shop for CNC routing. (or message me for other file types).
Purpose of this design:
STABLE for heavy rider (that’s me at 101Kg)
Side to side motion only (not interested in front to back)
Quick to build (parts from McMaster Carr)
Sub $400.00 build (CNC routing in main cost)
Adaptable design with 2 x 5", or 2 x 10" playground balls
2 x Full units per standard 4’ x 8’ plywood sheet
Notable Test Results after 30 days of use:
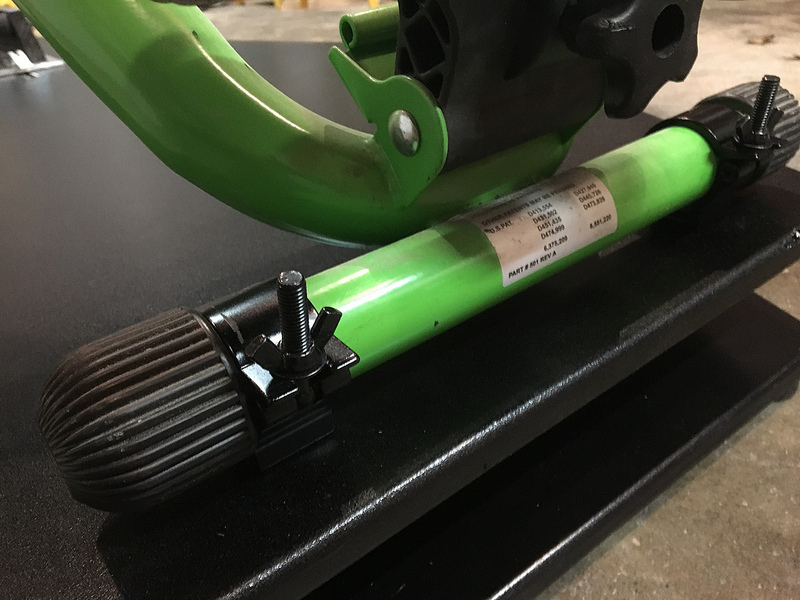
The specified dampers (McMaster-Carr) with high support and shear loads provide excellent motion and adequate damping; IMO opinions far superior to lighter load dampers.
2 x 5" balls provides good spring action for lighter riders. (4-6 psi)
The use 4 x 5" playground balls allows lower pressure and slower spring rates for better feel (2-8psi). 4 balls allows you to keep a lower profile. (but was removed in favour of #4)
By adding the round spacers and increasing the distance between the plates, 2 x 8" (or 10") playground balls can be used. The larger volume in each ball provides a much SLOWER action which feels much better to me. I can run each ball at 6-8psi to keep the plate firm and the side-to-side movement is still great with a much more natural feeling.
Rubber top sheet reduces overall noise and stable trainer mounting using only Velcro. (not shown on prototype)
Seeing this thread reminded me to update my progress with standing technique mentioned previously.
I was finally able to get this working by not staring at my front wheel and just kind of keep my gaze out in front. I think dropping the PSI on the balls helped too because it helped keep my cadence nice and relaxed.
@mcneese.chad I think it very cool how you have built such great interest and creativity in this area of Rocker Plates! I would bet that the aggregate is substantially better than what a corporate engineering department could do on its own. They’d be well served to read the posts here and on FB.
Personally, I’m looking forward to when the weather turns warm to review the ideas in detail and come up with my own extracted from the ideas you have spawned. Why when the weather is warm you ask? That’s when I fill my driveway with my power tools and the neighbors come by to watch me having fun
Glad to be a spark in the evolution of these great products. I am excited to see where they go over the next few years. And I am curious to see what you come up with as well
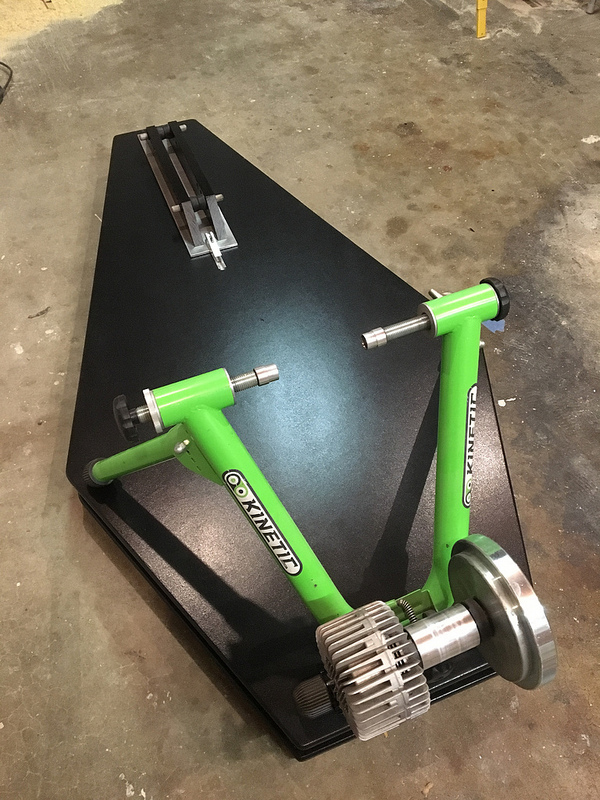
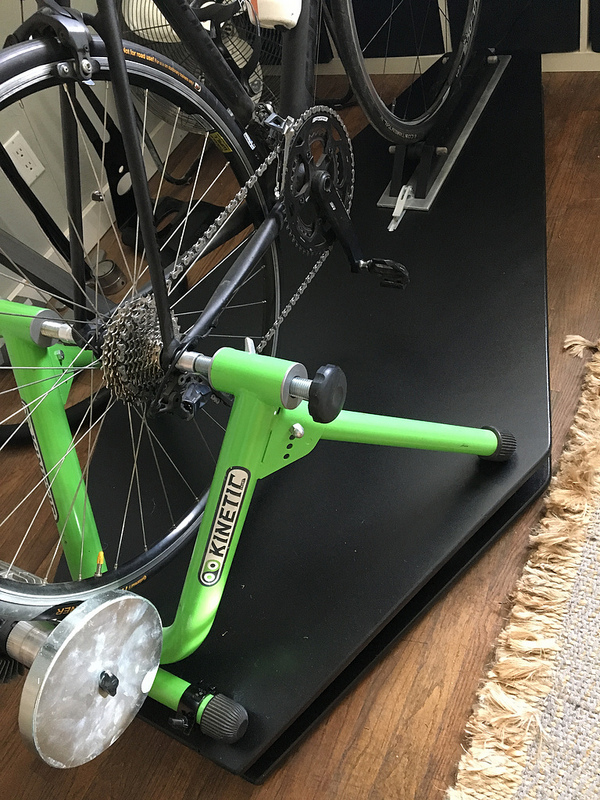
I found the idea of a rocker plate pretty compelling, and decided to give it a go. I’ve been on mine for about a month and a half now. With this winter having been pretty rough on us, since December 1st I’ve logged only 4 outdoor rides to my 53 indoor rides. This has made that stat much more enjoyable and comfortable, without question.
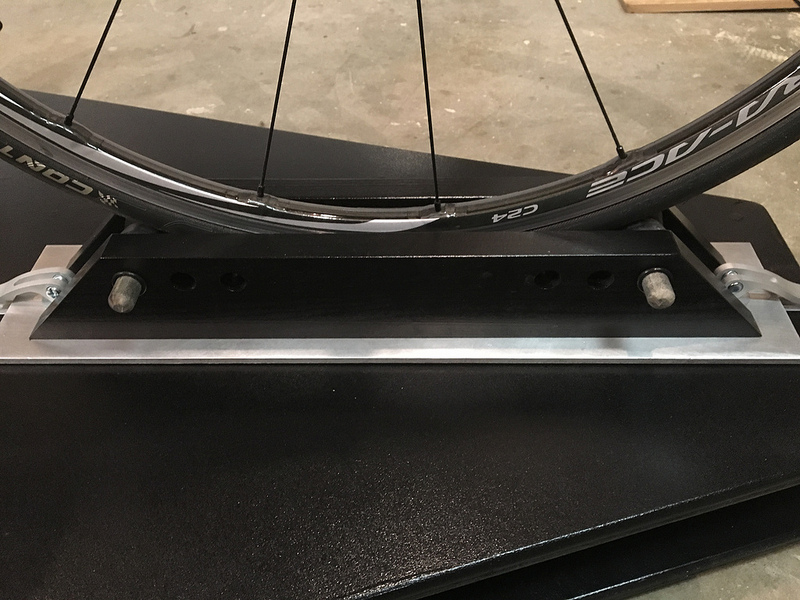
My design is pretty standard aside from a few bits that I thought through. The clamps for the trainer are quick release stage rigging, and are the sleekest hold down method I’ve seen yet. I also made my own front wheel block. It’s adjustable fore and aft for different wheelbase length via a T-track and quick cam toggles. And the height is adjustable by moving the pegs closer together. The range of the front wheel is adjustable from level to about 2.5" elevated.
I coated the top board in brush on bed liner, and thus far it’s held up great to cleats and sweat. I used 8 large rubber feet under the bottom board to absorb some of the vibration from the trainer and it’s definitely quieted down the whole system.
The whole setup weight about 50lbs without the trainer mounted, so not terribly bulky to move and store out of the way, although I’ve just left it setup as the footprint isn’t much larger than the trainer and bike itself.
I scrolled back through the chain but couldn’t find anything.
Do you think the rocker plates create more friction that wears on the bike’s rear dropout where it connect to the trainer? Or maybe it’s less with a plate…
If you mean “stress” (as in the structural loading on the tubes and joints that comprise the bike frame) then I have strong opinions.
When a bike is locked into a rigid trainer, it is essentially transferring any side loading directly into the frame. So, if there is any shift from the rider, it is forced directly into the frame and can be much higher loading that what we see on the road.
I can’t prove yet, but firmly believe that the maximum stress applied to a frame mounted in a rocker plate will be lower than that of a rigid trainer.
The increased degree of freedom in the Roll-Axis will allow the rider to actively control and “ride” the bike much more like outside. It reduces the peak force and stress applied to the frame when compared to a rigid setup. It may be a bit more than we see when the bike is outside, but it will be far lower than a rigid setup.
Yup. It’s good to see more motion added to trainers, but I dislike the apparent method of motion control.
It is effectively a triangle connection to the ground, and it lifts and pivots to one leg of the triangle.
From what I have seen in the videos (and what I would predict via the geometry) it is a very “blocky” motion. It seems too stable in the vertical position and requires considerable force to roll it off-center.
I may be wrong, but the riders I’ve seen on them make it look more awkward than what I would like to see in an optimized design.
I welcome the new direction, but I don’t think that concept will lead to the best “feel” when compared to other designs.